How to Build a Budget Gaming PC in 2025
Building a gaming PC for under $800 is mostly an exercise in spending in the right order. You won't get 4K ray tracing, and you shouldn't try. What you can get is a machine that runs most games at 1080p on high settings with frame rates that feel smooth, inside a platform you can upgrade piece by piece for years. The trick is putting money where frames actually come from and saving everywhere else.
Decide What the PC Has to Do
Before you open a parts list, write down two things: the resolution you play at, and the games you actually play. An $800 build is a 1080p build. If you're chasing 1440p at high refresh rates, this budget will force compromises that aren't worth making yet.
The game list matters more than people expect. If your library is esports titles — Valorant, CS2, Rocket League, Fortnite on competitive settings — you'll hit high frame rates without much trouble, and the processor starts to matter more than the graphics card. If you're playing newer single-player games, the graphics card swallows most of the budget and a steady 60 frames per second at medium-to-high settings is a realistic target. Write your target down on paper. It stops you from overspending on a CPU you don't need or a monitor your GPU can't drive.
A Budget Split That Works
Here's a starting allocation for an $800 parts list. These are shares of your own budget, not fixed prices, so adjust them as you shop:
- Graphics card: roughly a third of the total, about $250–$300
- Processor: $110–$150
- Motherboard: $75–$110
- Memory: 16 GB, $40–$60
- Storage: 1 TB NVMe, $50–$70
- Power supply: $60–$80
- Case: $50–$70
That lands near $700, which leaves room for tax, shipping, a couple of extra case fans, thermal paste, and the inevitable forgotten cable. A small cushion matters more than squeezing in one better component. Prices move constantly, so treat any list you find online — including this one — as a shape to follow, not a verdict on what today costs.
Picking Each Component
Graphics card
This is where your frame rate lives. Buy a current-generation mid-range card if you can, or a used previous-generation card if you want more performance per dollar. The used market is normal here and full of perfectly good hardware, but buy carefully: ask how the card was used and how old it is, prefer listings with warranty remaining, and test it before money changes hands when that's possible. Avoid anything that needs more power connectors than your supply provides.
Processor, motherboard and memory
A six-core processor is the sweet spot. AMD's AM4 platform with a Ryzen 5-class chip and DDR4 memory is still one of the cheapest routes to fast gaming performance. A low-end AM5 chip costs more up front but drops you into a socket that will accept newer processors later, which can save money on your next upgrade. Recent Intel i5-class parts are fine too. Whichever you choose, the processor and motherboard must match sockets, and the board dictates your memory type — DDR4 and DDR5 are not interchangeable.
For memory, 16 GB is the floor and 32 GB is a luxury at this budget. Two 8 GB sticks are better than one 16 GB stick, because dual-channel memory feeds the CPU properly. Speed helps, but capacity and channel count help more.
Storage, power supply and case
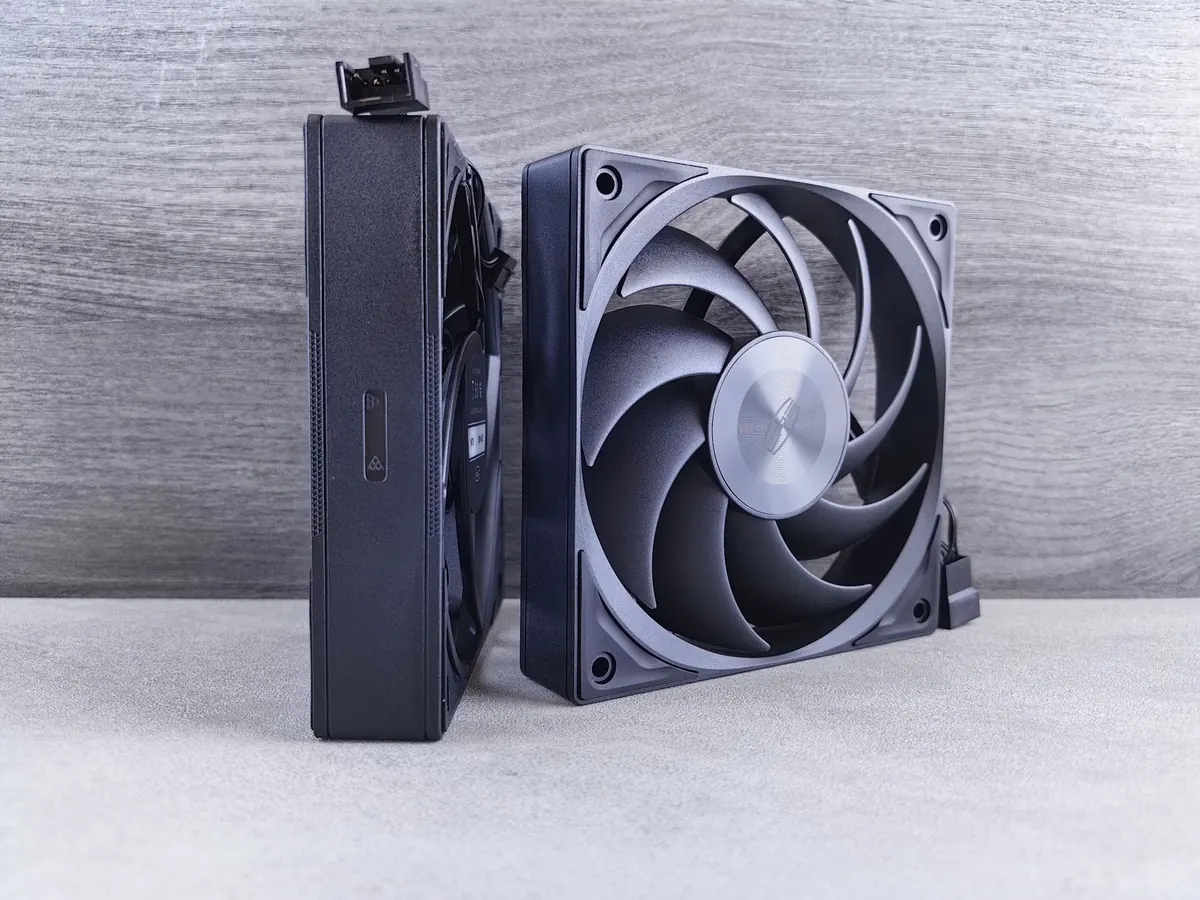
A 1 TB NVMe drive is the sensible minimum; 500 GB fills up faster than anyone expects once you install a few modern games. The power supply is the one part you should never buy from an unknown brand — a cheap unit can fail and take other components with it. Look for 550–650 W from a reputable manufacturer, check that it has the connectors your graphics card needs, and read a proper review or tier list rather than trusting the wattage on the box alone. For the case, prioritize airflow over looks: a mesh front and at least two fans beat a glass panel with no ventilation.
Where to Save and Where Not To
- Save on: the case, extra fans, RGB lighting, a second storage drive, and motherboard features you'll never use like Wi-Fi you don't need or a dozen SATA ports.
- Save on: the processor cooler at first. Many chips include a usable stock cooler, and you can add a better one later.
- Don't save on: the power supply. It's the least exciting purchase and the most damaging one to get wrong.
- Don't save on: memory capacity. Cutting to 8 GB to afford a faster GPU is a trade you'll regret within a month.
Assembly, Step by Step
- Work on a table, not carpet, and keep screws in a cup. Touch the bare metal of the case before handling components to discharge static.
- Build on top of the motherboard box: install the CPU, cooler, memory and M.2 drive first. Line up the triangle marker on the CPU corner with the one on the socket.
- Mount the motherboard in the case and check that every standoff lines up before tightening screws.
- Install the power supply, then route the 24-pin and CPU power cables behind the motherboard tray while there's still room.
- Fit the graphics card and connect its power cables. Use separate cables from the supply rather than a single daisy-chained one where the card allows it.
- Connect the front panel headers last, using the motherboard manual. This is the fiddliest step and the one people get wrong.
- Boot with the side panel off. No display usually means memory isn't seated fully or the CPU power cable is missing. If it still won't post, clear the CMOS and try again.
- In the BIOS, enable XMP or EXPO so your memory runs at its rated speed instead of a slow default.
- Install the operating system, then graphics drivers from the manufacturer's own site. Leave room in the budget for a licence if you need one, or reuse a retail licence you already own.
- Test under load: play for an hour, watch temperatures, and confirm nothing crashes.
Common Mistakes That Cost Money
- Overspending on the processor and underspending on the graphics card — the opposite of what gaming needs.
- Forgetting to check clearance: graphics card length, cooler height, and radiator space all cause returns.
- Skipping the exhaust fan, then wondering why the case turns into an oven.
- Buying a monitor before the build is done, then discovering the GPU can't drive the resolution you bought.
- Leaving memory at default speed for months because nobody enabled XMP.
Build It, Then Upgrade It
Live with the machine for a month before you change anything. Note where it struggles: if textures stutter and settings have to drop, the graphics card is your limit; if frame rates dip in busy scenes with the GPU at low usage, the processor is. Then upgrade in cheap steps first — storage, cooler, memory — and only then the expensive ones.
If assembling everything yourself sounds unpleasant, buying a prebuilt at the same price usually means less performance for the same money, in exchange for a single warranty and no afternoon of screwdriver work. That's a fair trade for some people. But if you do build it, you'll know exactly what's inside, and the next upgrade becomes a ten-minute job instead of a purchase.
Photo: Henning_W / Pixabay